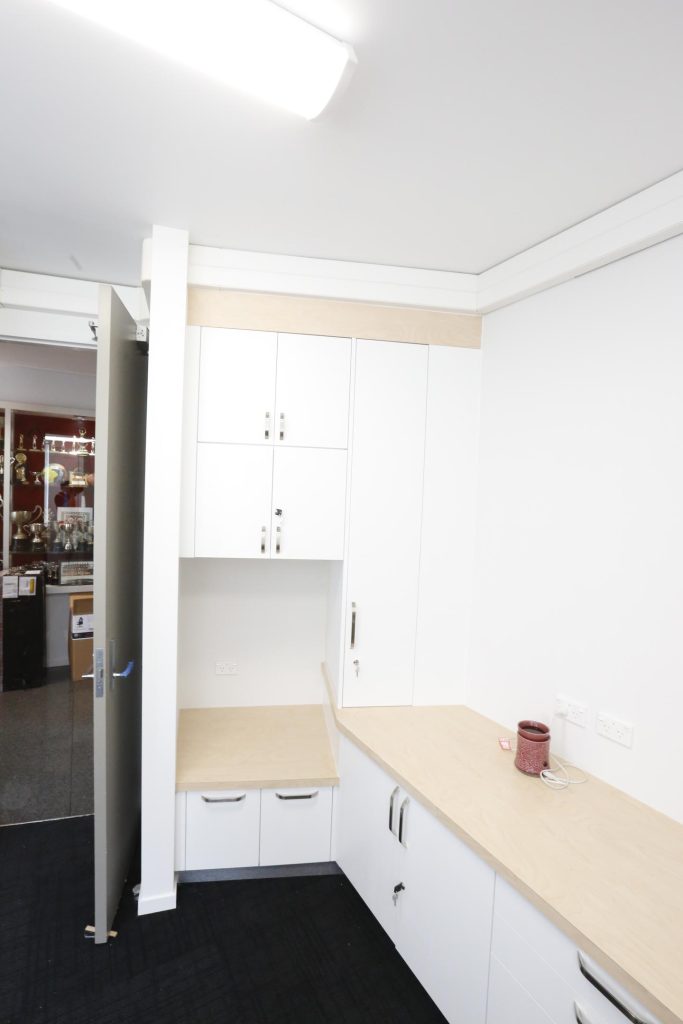
Choosing a kitchen cabinet finish isn’t just about looks. Glossy and matte cabinets behave very differently in real homes, especially once light, space, cleaning habits, and daily use come into play. Making the right decision early can save you frustration, maintenance headaches, and regret later.
We manufacture custom cabinetry and see firsthand how different finishes perform over time. Below is a practical breakdown to help you decide which option genuinely suits your kitchen, lifestyle, and long-term expectations.
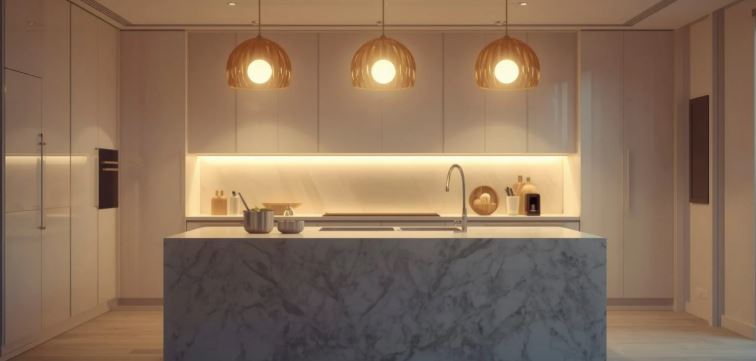
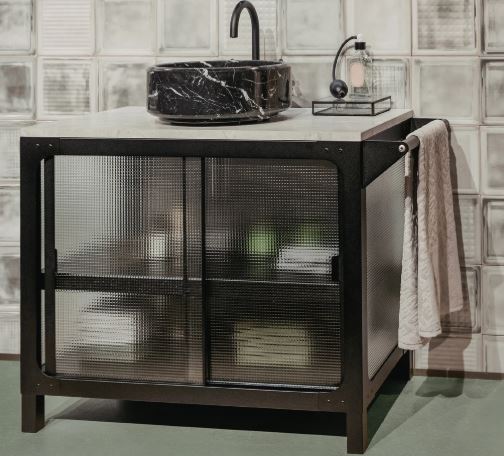
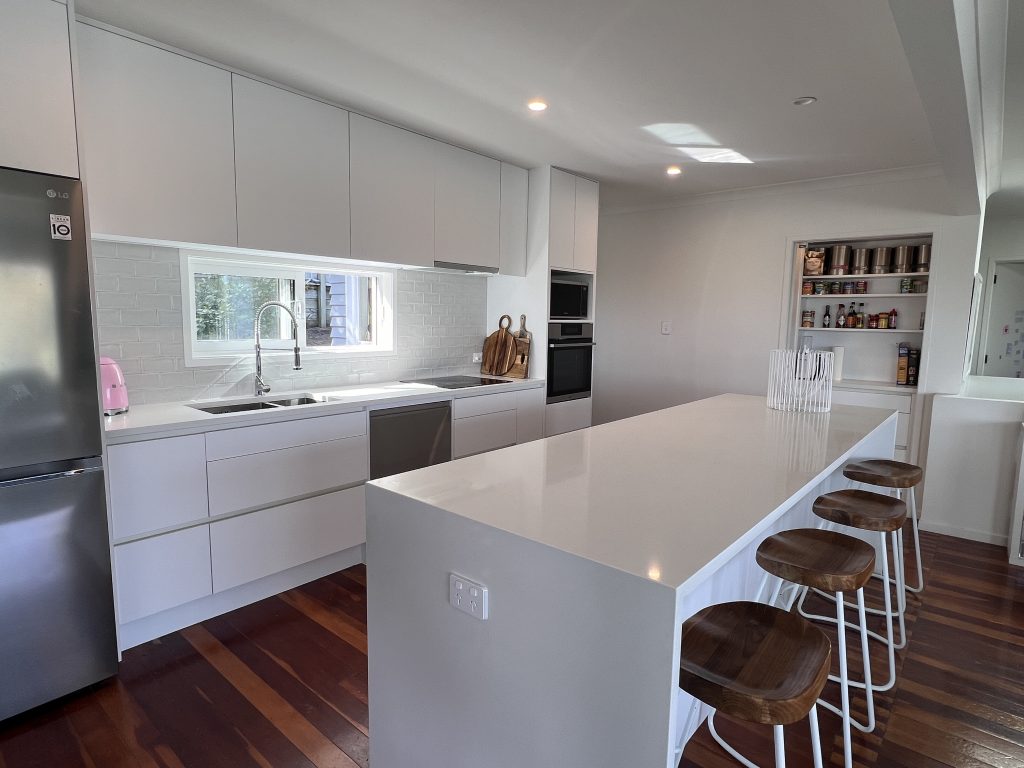
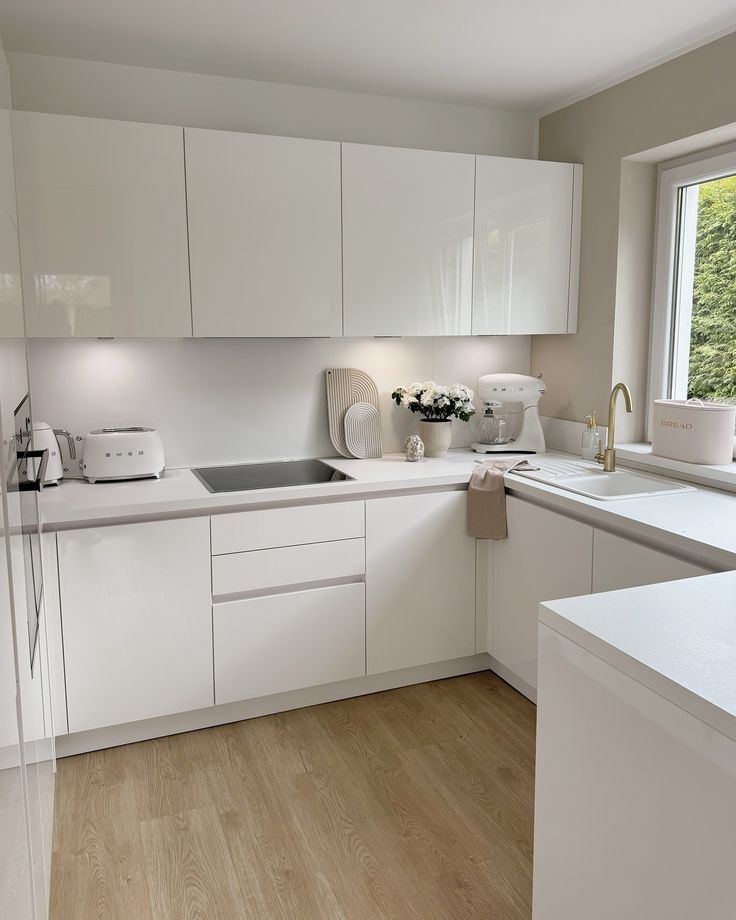
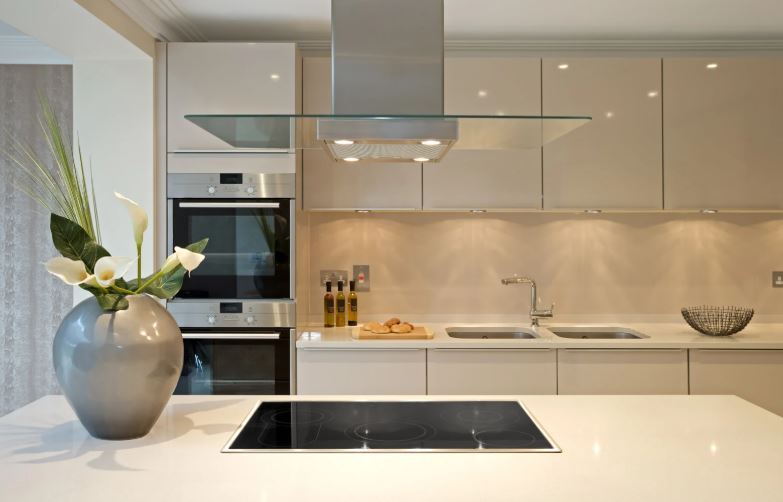
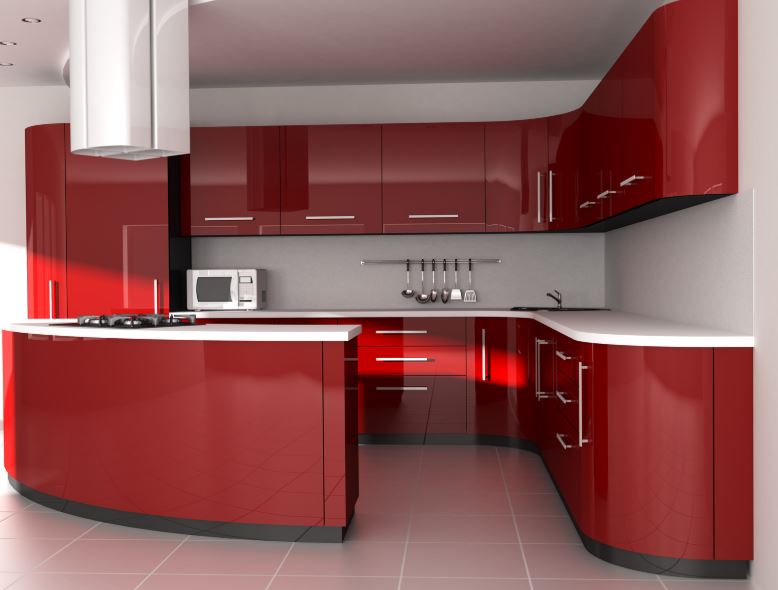
Glossy Kitchen Cabinets
Glossy cabinets have a smooth, highly reflective surface created through high-gloss paint, acrylic, or laminate finishes. The shine is achieved during manufacturing using polished pressing plates, resulting in a crisp, mirror-like surface that reflects light.
This finish is commonly used in modern and contemporary kitchens where brightness and clean lines are a priority.
Why homeowners choose glossy finishes
Glossy cabinets are excellent at reflecting both natural and artificial light, which can dramatically brighten a space. In smaller kitchens or homes with limited daylight, this reflective quality can make the room feel noticeably larger and more open without structural changes.
They also deliver a sleek, modern aesthetic. The uninterrupted surface creates a streamlined look that works particularly well with minimalist layouts, integrated appliances, and contemporary benchtops. From a maintenance perspective, the smooth surface allows grease and spills to be wiped away easily with a damp cloth.
What to be mindful of
The same reflectivity that makes glossy cabinets attractive also makes fingerprints, smudges, and fine scratches more visible. In busy family kitchens, this can mean more frequent cleaning. Strong lighting or large windows may also create glare, which can feel harsh if not carefully planned. Glossy finishes are best suited to modern interiors and may feel out of place in more traditional or rustic homes.
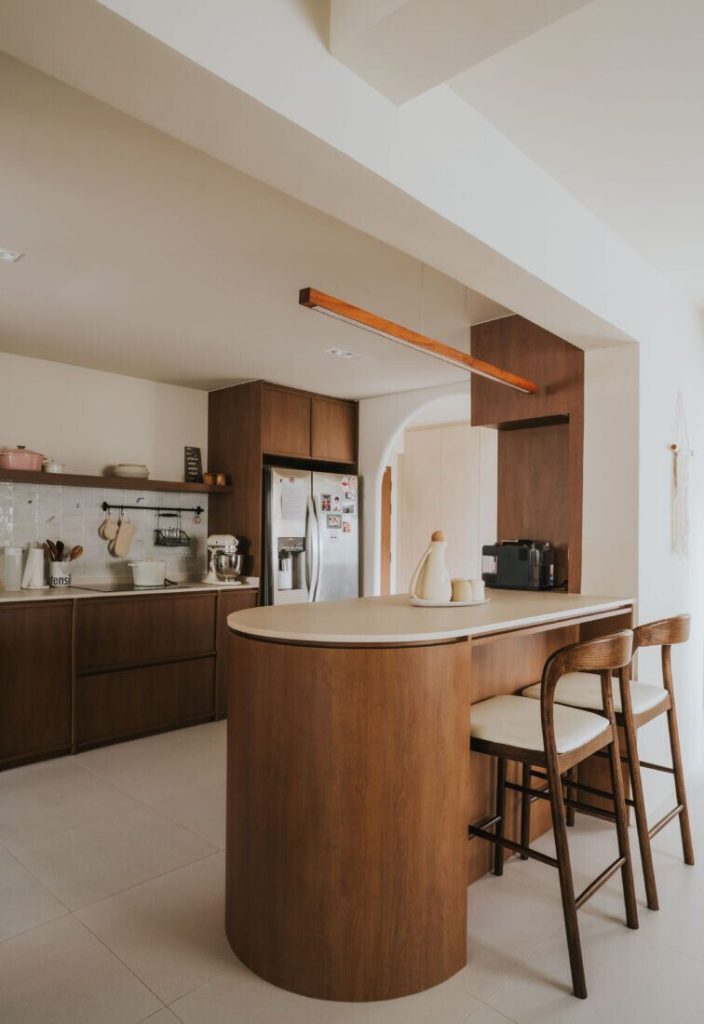
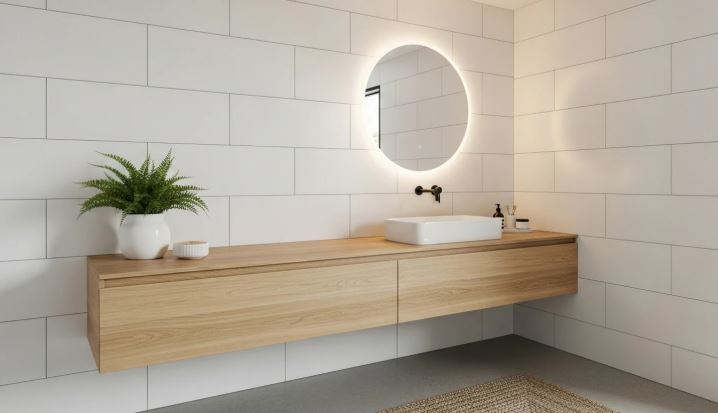
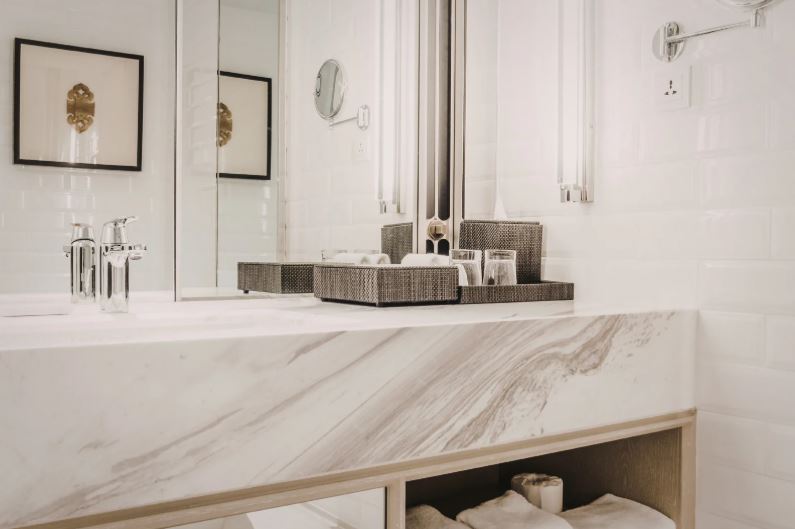
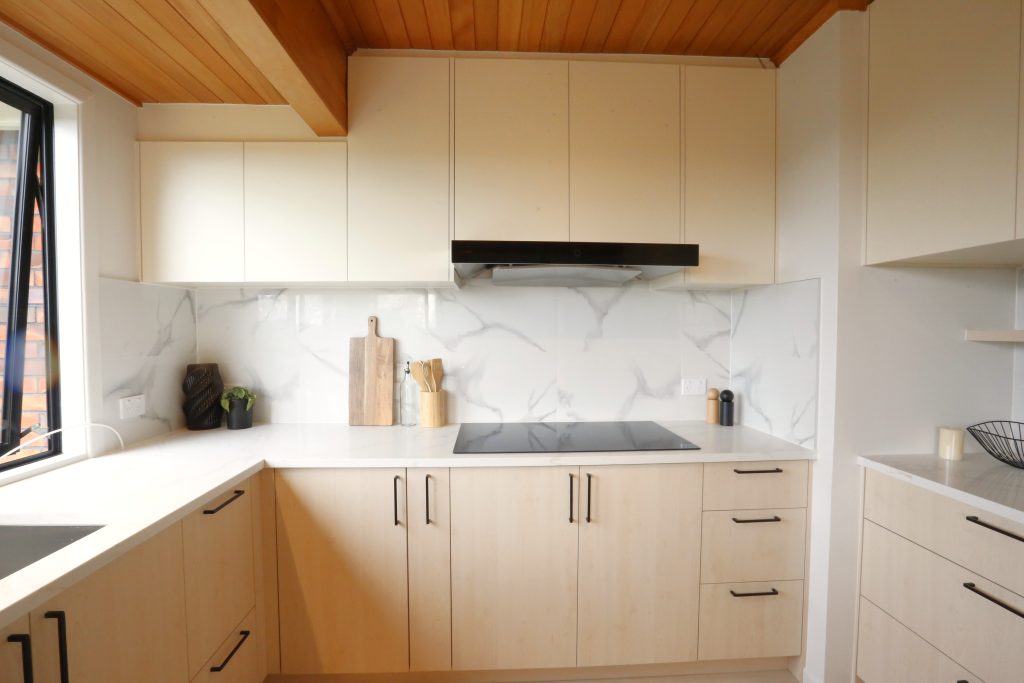
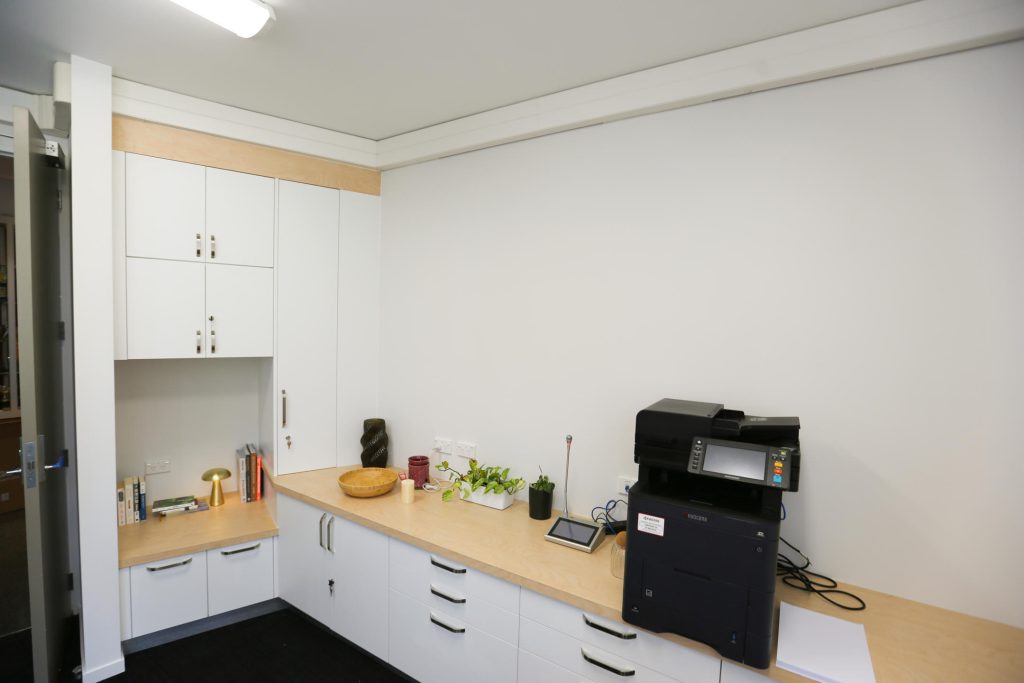
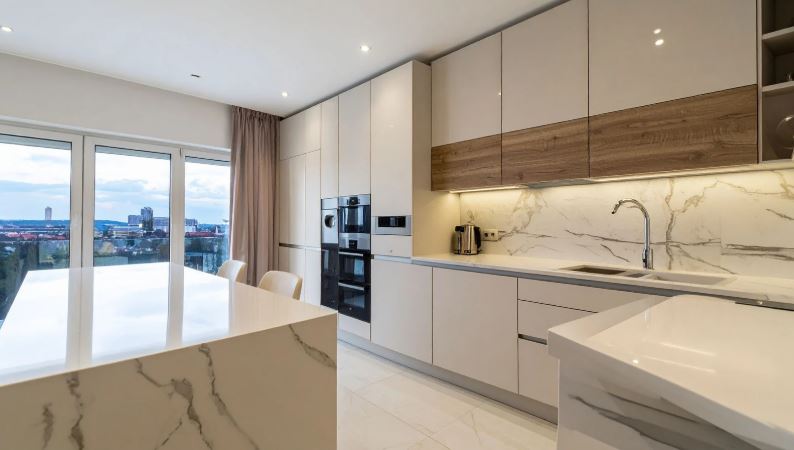
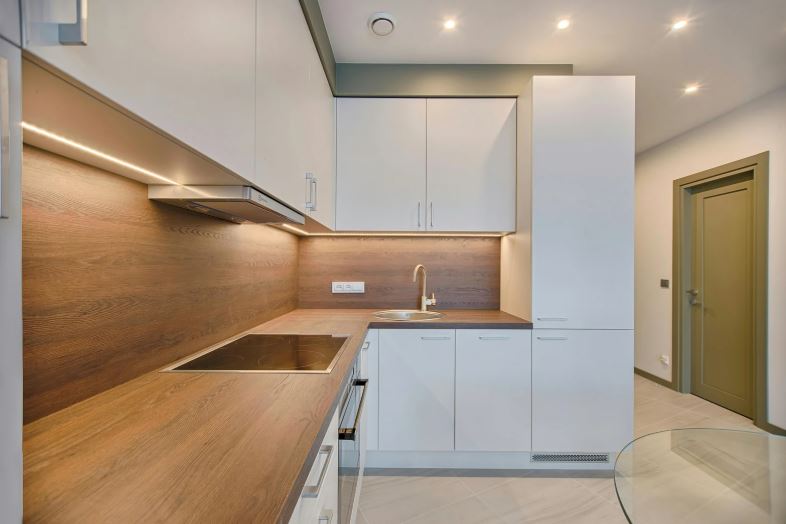
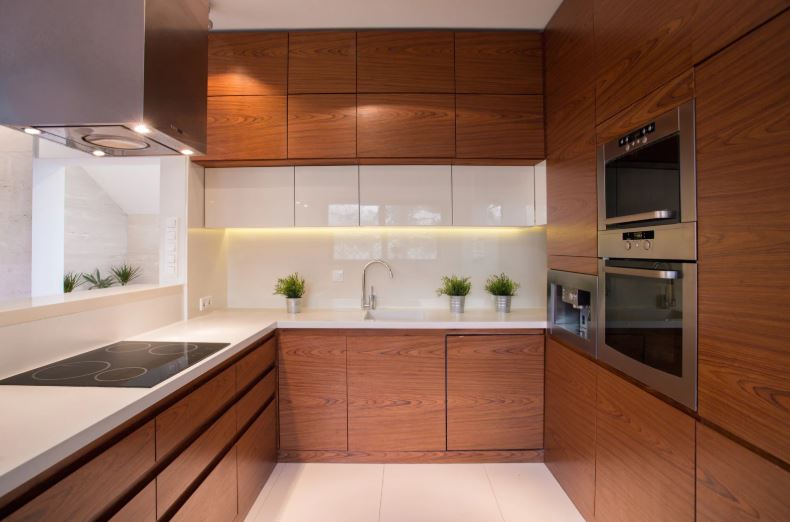
Matte Kitchen Cabinets
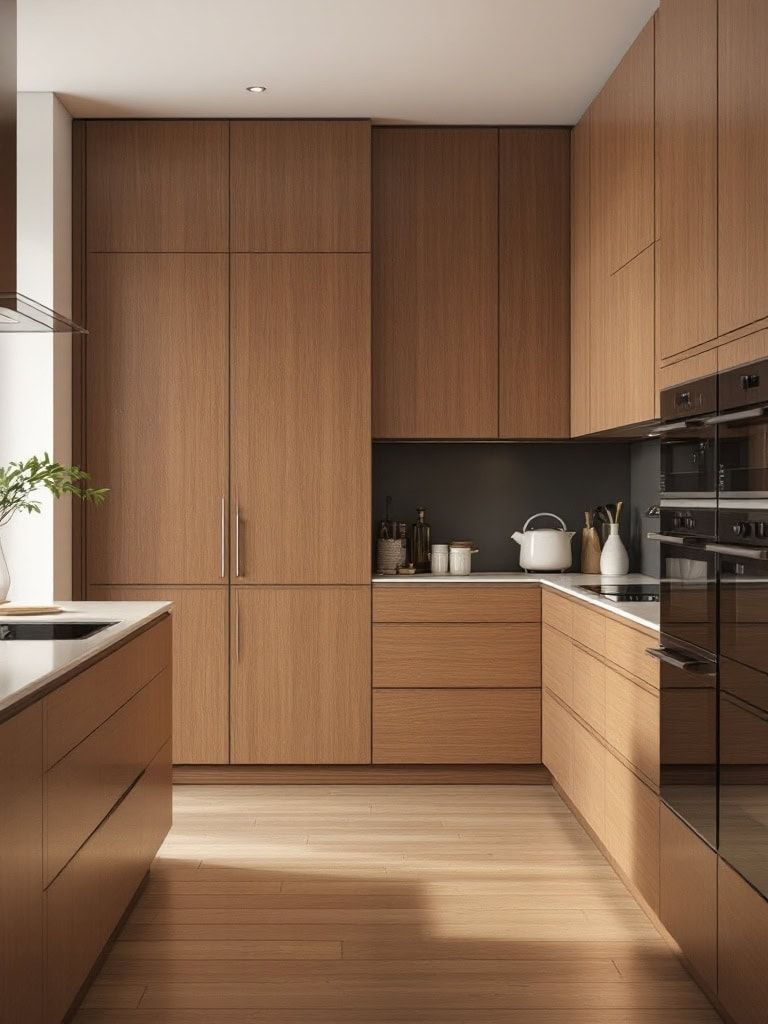
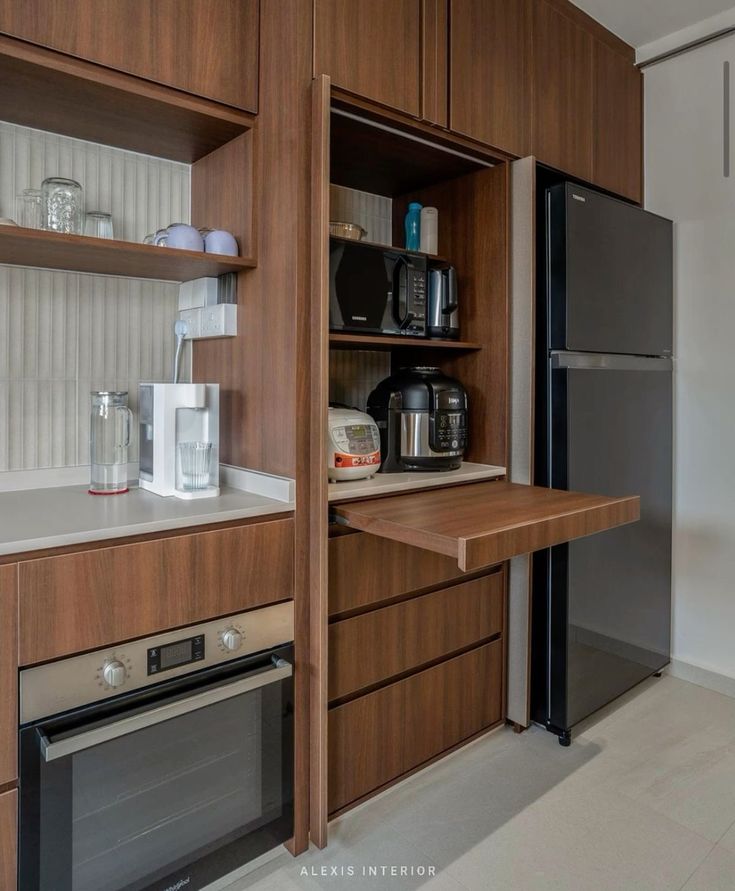
Matte cabinets feature a low-sheen, non-reflective surface created using textured pressing plates during manufacturing. The result is a soft-touch finish that absorbs light and delivers a calm, understated appearance.
Matte finishes are popular for homeowners seeking warmth, subtlety, and design versatility.
Why homeowners choose matte finishes
Matte cabinetry creates a refined, sophisticated look that doesn’t overpower the space. Because it doesn’t reflect light, it feels calmer and more tactile, pairing beautifully with natural materials like timber, stone, and textured tiles.
Matte finishes are also highly versatile. They suit modern, Japandi, industrial, and classic kitchens alike, making them a safe long-term choice for homeowners who value timeless design. In bright kitchens, matte cabinets help reduce glare and visual noise, improving overall comfort.
What to be mindful of
Matte surfaces can be more demanding to clean. Oils and stains may absorb into the finish and require more effort to remove. In smaller or darker kitchens, matte cabinets can make the space feel more enclosed if lighting isn’t carefully designed. Over time, high-touch areas such as around handles may show wear if the finish isn’t properly specified and manufactured.
Key Factors to Consider Before Choosing
Light and space
Glossy finishes enhance light and make compact kitchens feel larger. Matte finishes absorb light and add depth, working best in well-lit or larger spaces.
Maintenance habits
Glossy cabinets wipe clean easily but show marks more clearly. Matte cabinets hide fingerprints better but can require deeper cleaning when stained.
Overall style
Glossy suits sleek, contemporary kitchens. Matte offers flexibility across modern, transitional, and classic styles.
Durability and use
Both finishes are durable when manufactured correctly, but wear patterns differ. Choosing the right finish for high-use areas is essential.
This is where professional advice matters most. Finish choice should never be made in isolation from layout, lighting, cabinetry construction, and how the kitchen will actually be used.
So, Which One Is Right for You?
There is no universal “better” option. A glossy kitchen may be perfect for a compact townhouse needing brightness, while a matte finish may suit a larger family home seeking warmth and balance.
The best kitchens aren’t defined by trends — they’re defined by how well they support everyday living.
At BoxMakers, we don’t push finishes. We guide homeowners through real-world considerations, then manufacture cabinetry that performs as beautifully as it looks.
FAQs
1. Are glossy cabinets harder to maintain than matte?
Not necessarily. Glossy cabinets are easier to wipe clean, but they show fingerprints more readily. Matte cabinets hide marks better day-to-day but may need more effort to remove grease or stains. The “right” choice depends on how your kitchen is used.
2. Will matte cabinets go out of style?
Matte finishes are considered timeless because they adapt well to many design styles. While gloss trends rise and fall, matte cabinetry remains consistently popular in both modern and classic homes.
3. Can I mix glossy and matte finishes in one kitchen?
Yes, and when done well, it can look excellent. Many kitchens combine matte cabinetry with glossy splashbacks or feature panels. The key is balance and professional planning.

Why Early Guidance Matters
Cabinet finishes are difficult and expensive to change once installed. Choosing correctly at the design stage prevents regret, saves money, and ensures your kitchen ages well.
If you’re unsure, that’s exactly the right time to talk — not after manufacturing begins.